Hello everybody, welcome to my recipe site, If you're looking for recipes idea to cook today, look no further! We provide you only the perfect ChickenKiev balls: recipe here. We also have wide variety of recipes to try.

Before you jump to ChickenKiev balls: recipe, you may want to read this short interesting healthy tips about Nutritious Vitality Treats.
Eating healthy foods tends to make all the difference in how we feel. We tend to feel way less gross after we increase our consumption of wholesome foods and decrease our consumption of processed foods. A bit of pizza doesn’t make you feel as healthy as eating a fresh green salad. This can be a problem, however, in terms of eating between meals. Finding goodies that help us feel better and enhance our levels of energy often involves lots of shopping and meticulous reading of labels. There’s nothing like one of these brilliant healthy foods when you really need an energy-boosting snack.
Yogurt is often a snack many individuals take for granted. Sometimes people elect to eat yogurt over a balanced lunch which is not the right idea. As a snack, however, yogurt is one of the best things you can reach for. It consists of tons of calcium, protein, and B vitamins. Yogurt is easy for the body to digest and, dependent on the type of culture used to make the yogurt youre eating, can also help normalize your digestive system. Yogurt combines perfectly with nuts along with seeds. It’s an excellent way to delight in a flavorful snack without having too much sugar.
A large assortment of easy health snacks is easily accessible. When you make the determination to be healthy, it’s simple to find just what you need to be successful at it.
We hope you got benefit from reading it, now let’s go back to chickenkiev balls: recipe. To cook chickenkiev balls: you only need 17 ingredients and 7 steps. Here is how you achieve that.
The ingredients needed to cook ChickenKiev balls::
- Use 🌻FOR STUFFING: 100g (1 cup) finely grated cheese
- You need garlic cloves, crushed
- You need finely chopped fresh parsley
- Take black pepper
- Provide 🌻FOR CHICKEN MINCE:
- Prepare chicken mince
- Provide fresh bread crumbs for adding in chicken mince
- Use Salt
- Use red chilli flakes
- Get paprika powder
- Prepare garlic powder
- Prepare onion powder
- Prepare ginger powder
- Provide 🌻FOR COATED: 2 cups breadcrumbs (for coated)
- Prepare plain flour
- Provide eggs
- Provide Vegetable oil, to deep-fry
Steps to make ChickenKiev balls::
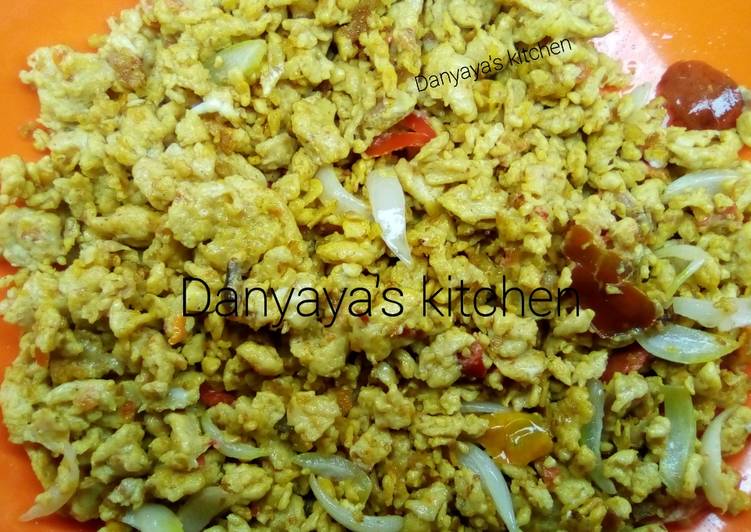
- Use your fingertips to gently combine the cheese, garlic, black pepper and parsley in a bowl set aside. - Place the chicken mince breadcrumbs and all mince ingredients in chopper blitz well and keep in fridge for 30 minutes. After 30 minutes - Shape level tablespoons of mince mixture into balls.
- Take a ball and make a deep indentation in the centre, flattening slightly. Place a good pinch (about a firmly packed teaspoon) of the cheese mixture into the centre, then fold the chicken around to enclose. Reshape into a ball. Repeat with the remaining chicken and cheese filling.
- Place the flour in a bowl. Lightly whisk the eggs in another bowl and place the breadcrumbs in another bowl. Coat all the balls in flour, shaking off excess. Use one hand to dip and coat a ball in egg, then the other hand to roll and coat in breadcrumbs. Place onto a tray. Repeat with the remaining egg and breadcrumbs to coat the remaining balls.
- Pour enough oil to come one-third of the way up the side of a large saucepan. Heat over medium heat. Cook the balls in batches, turning often, for 5 minutes or until crisp and golden. Place on a plate lined with paper towel to drain.
- Serve with the chicken kiev balls with your favourite sauce and salad…. Enjoy !
- 💡TIPS: - After coated all Kiev balls rest in fridge about 40-45 minutes then fry.
If you find this ChickenKiev balls: recipe helpful please share it to your friends or family, thank you and good luck.